Vegetable Pulao | Veg Pulav | Vegetable Rice
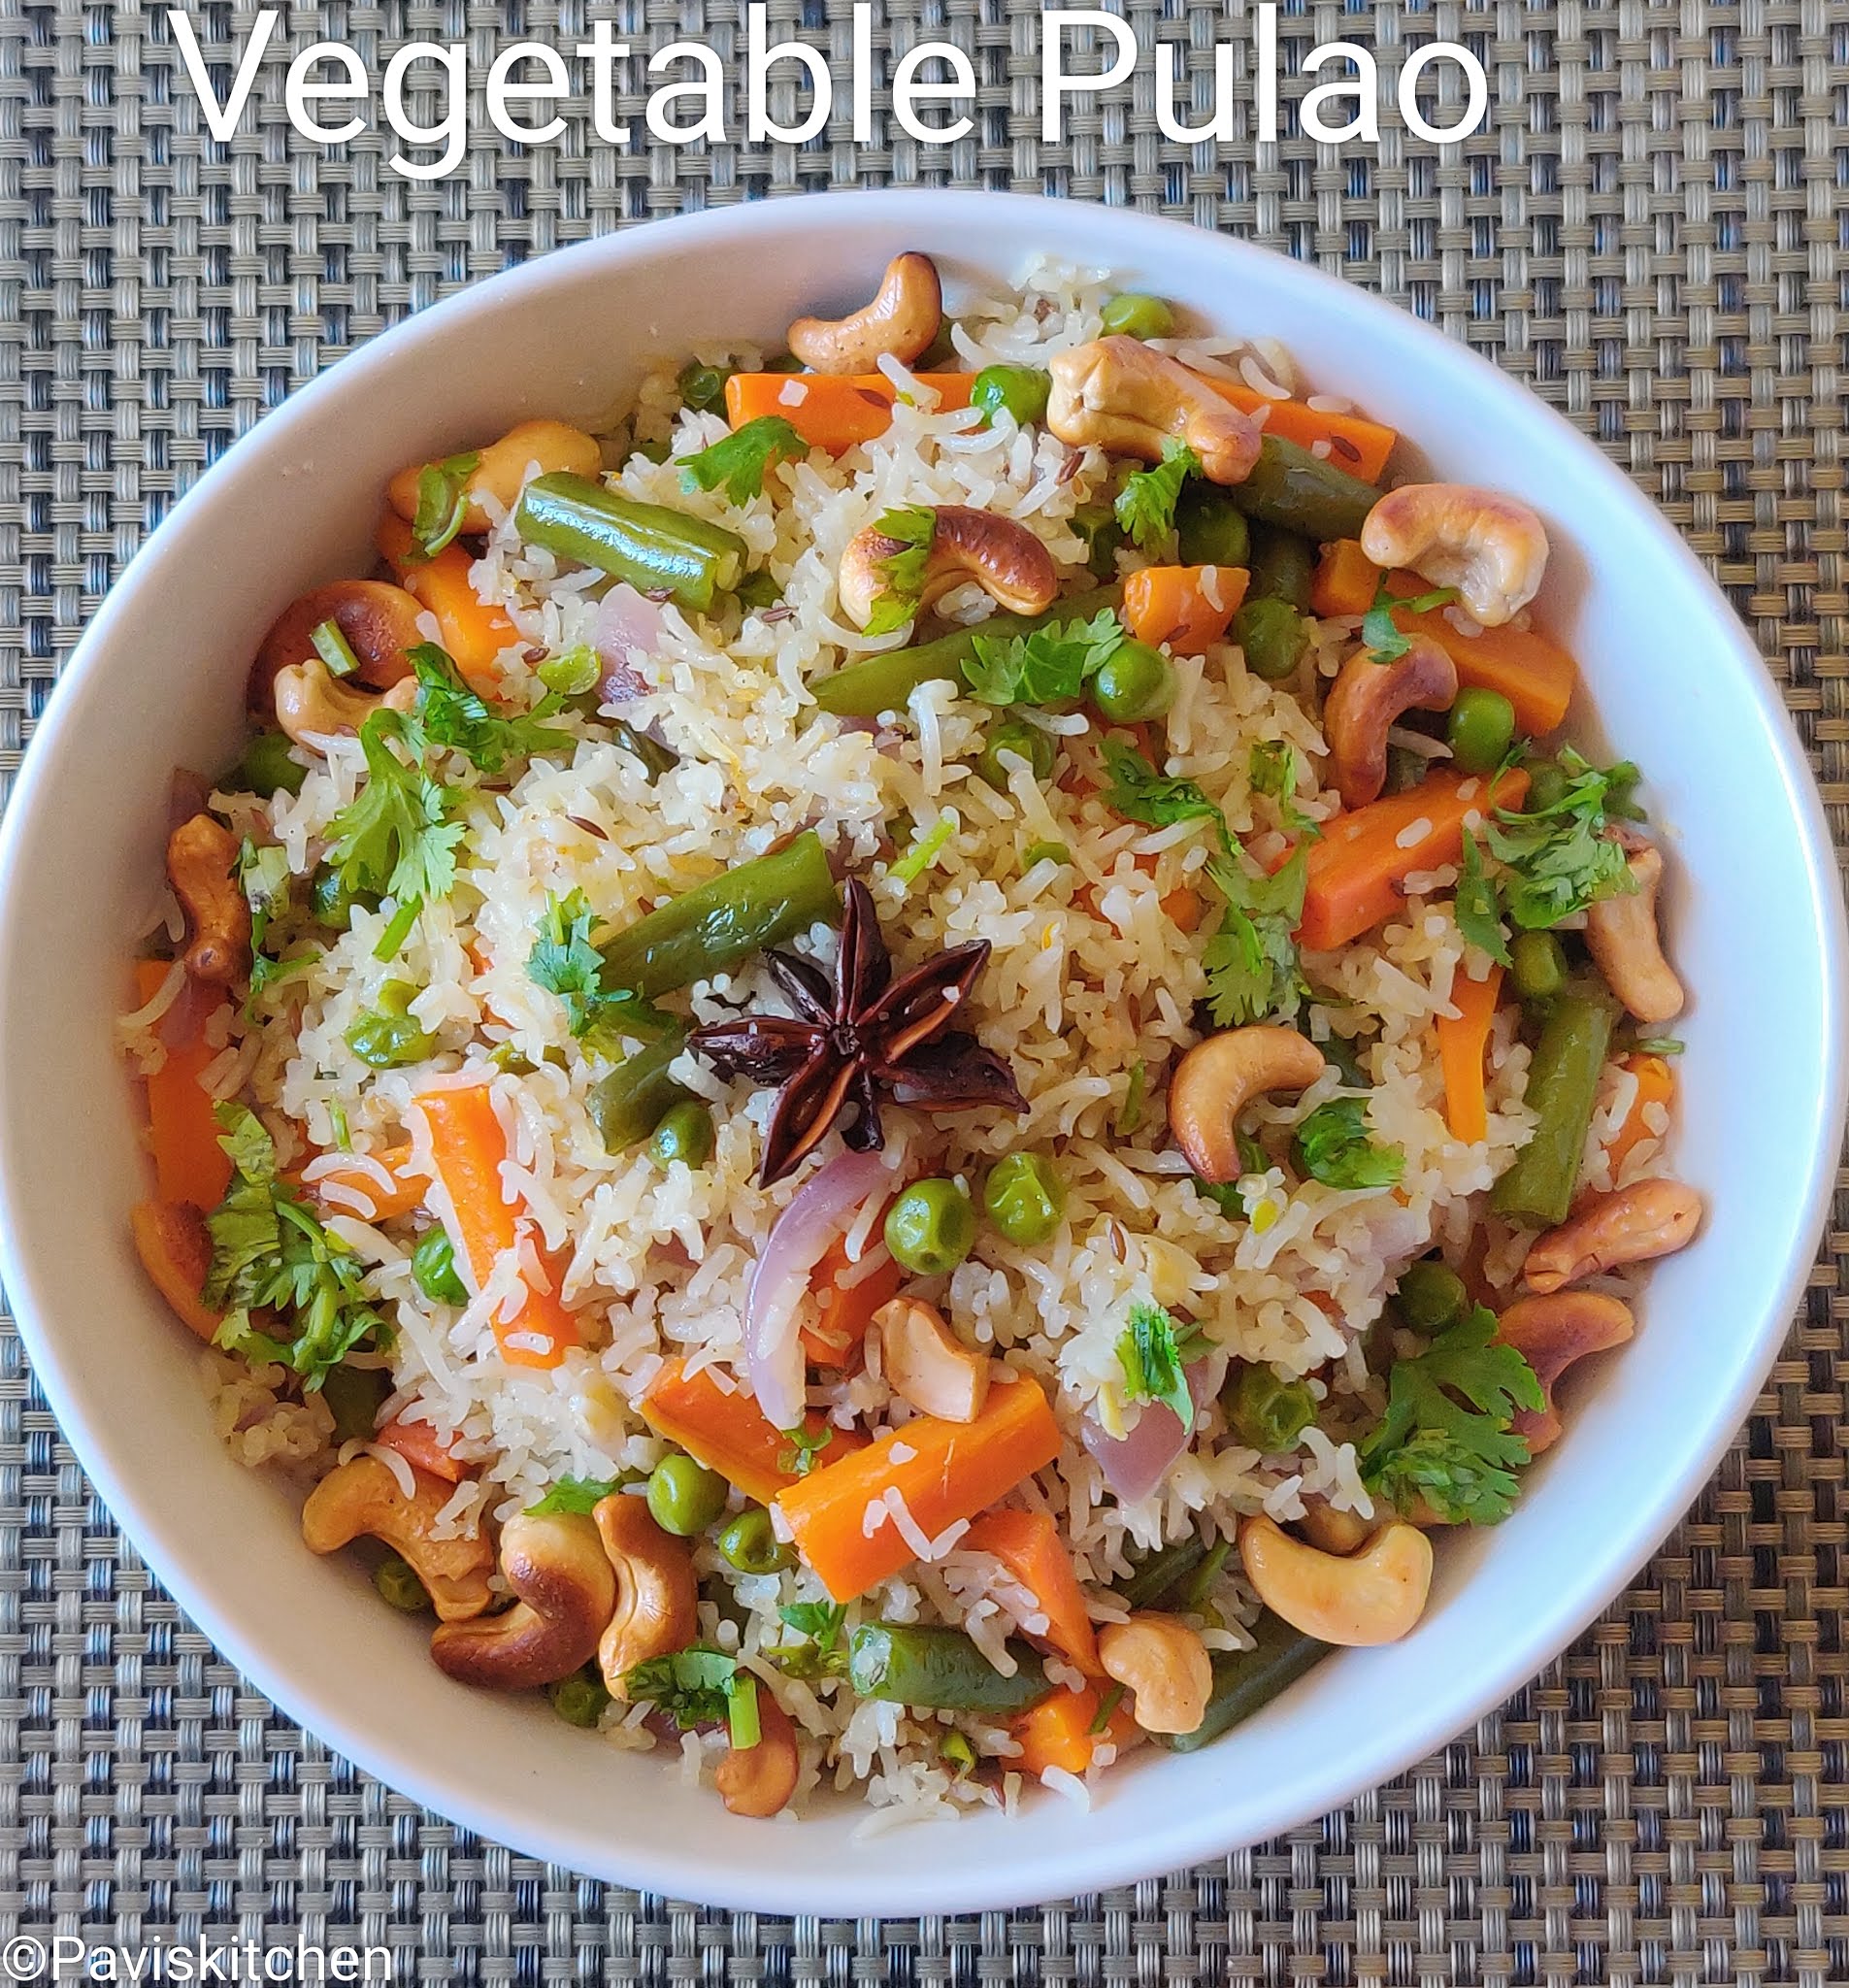
Vegetable pulao recipe | Vegetable pulav recipe | Veg Pulav | One-pot veg rice with detailed step-by-step photos and procedure.
Vegetable Pulao or Pulav is a one-pot rice variety. It is very easy to prepare. Pulao is the first dish that comes to my mind whenever I have fresh green beans, carrots, and peas in stock. Here, I have used frozen peas in this recipe. Feel free to experiment with other veggies like cauliflower, baby corn, broccoli, cabbage, and potato.
There are several varieties of pulao/pulav, which are green peas pulao, sweet corn pulao, cashew pulao, paneer pulao, Kashmiri pulav...the list goes on. I love all the varieties and plan to post them in my blog as and when I make them, so stay tuned to Pavi's Kitchen. Alright without any further delay let's get into the recipe.

Recipe: Vegetable Pulao | Vegetable Pulav
Serves: 3
Prep time - 15 min | Cook time - 20 mins
Cuisine - Indian
Region - South Indian
Course - Main
Diet - Vegan | Vegetarian
Author - Pavithra
Ingredients:
1. Basmati Rice - 1 cup (soaked in water for 15 to 30 mins)
2. Ghee/Oil - 3 tbsp
3. Salt - As per taste
2. Ghee/Oil - 3 tbsp
3. Salt - As per taste
1. Green beans - 10 to 15
2. Carrots - 2
3. Frozen green peas - 1/2 cup
4. Red onion - 1 big
5. Coriander leaves - 5 sprigs
2. Carrots - 2
3. Frozen green peas - 1/2 cup
4. Red onion - 1 big
5. Coriander leaves - 5 sprigs
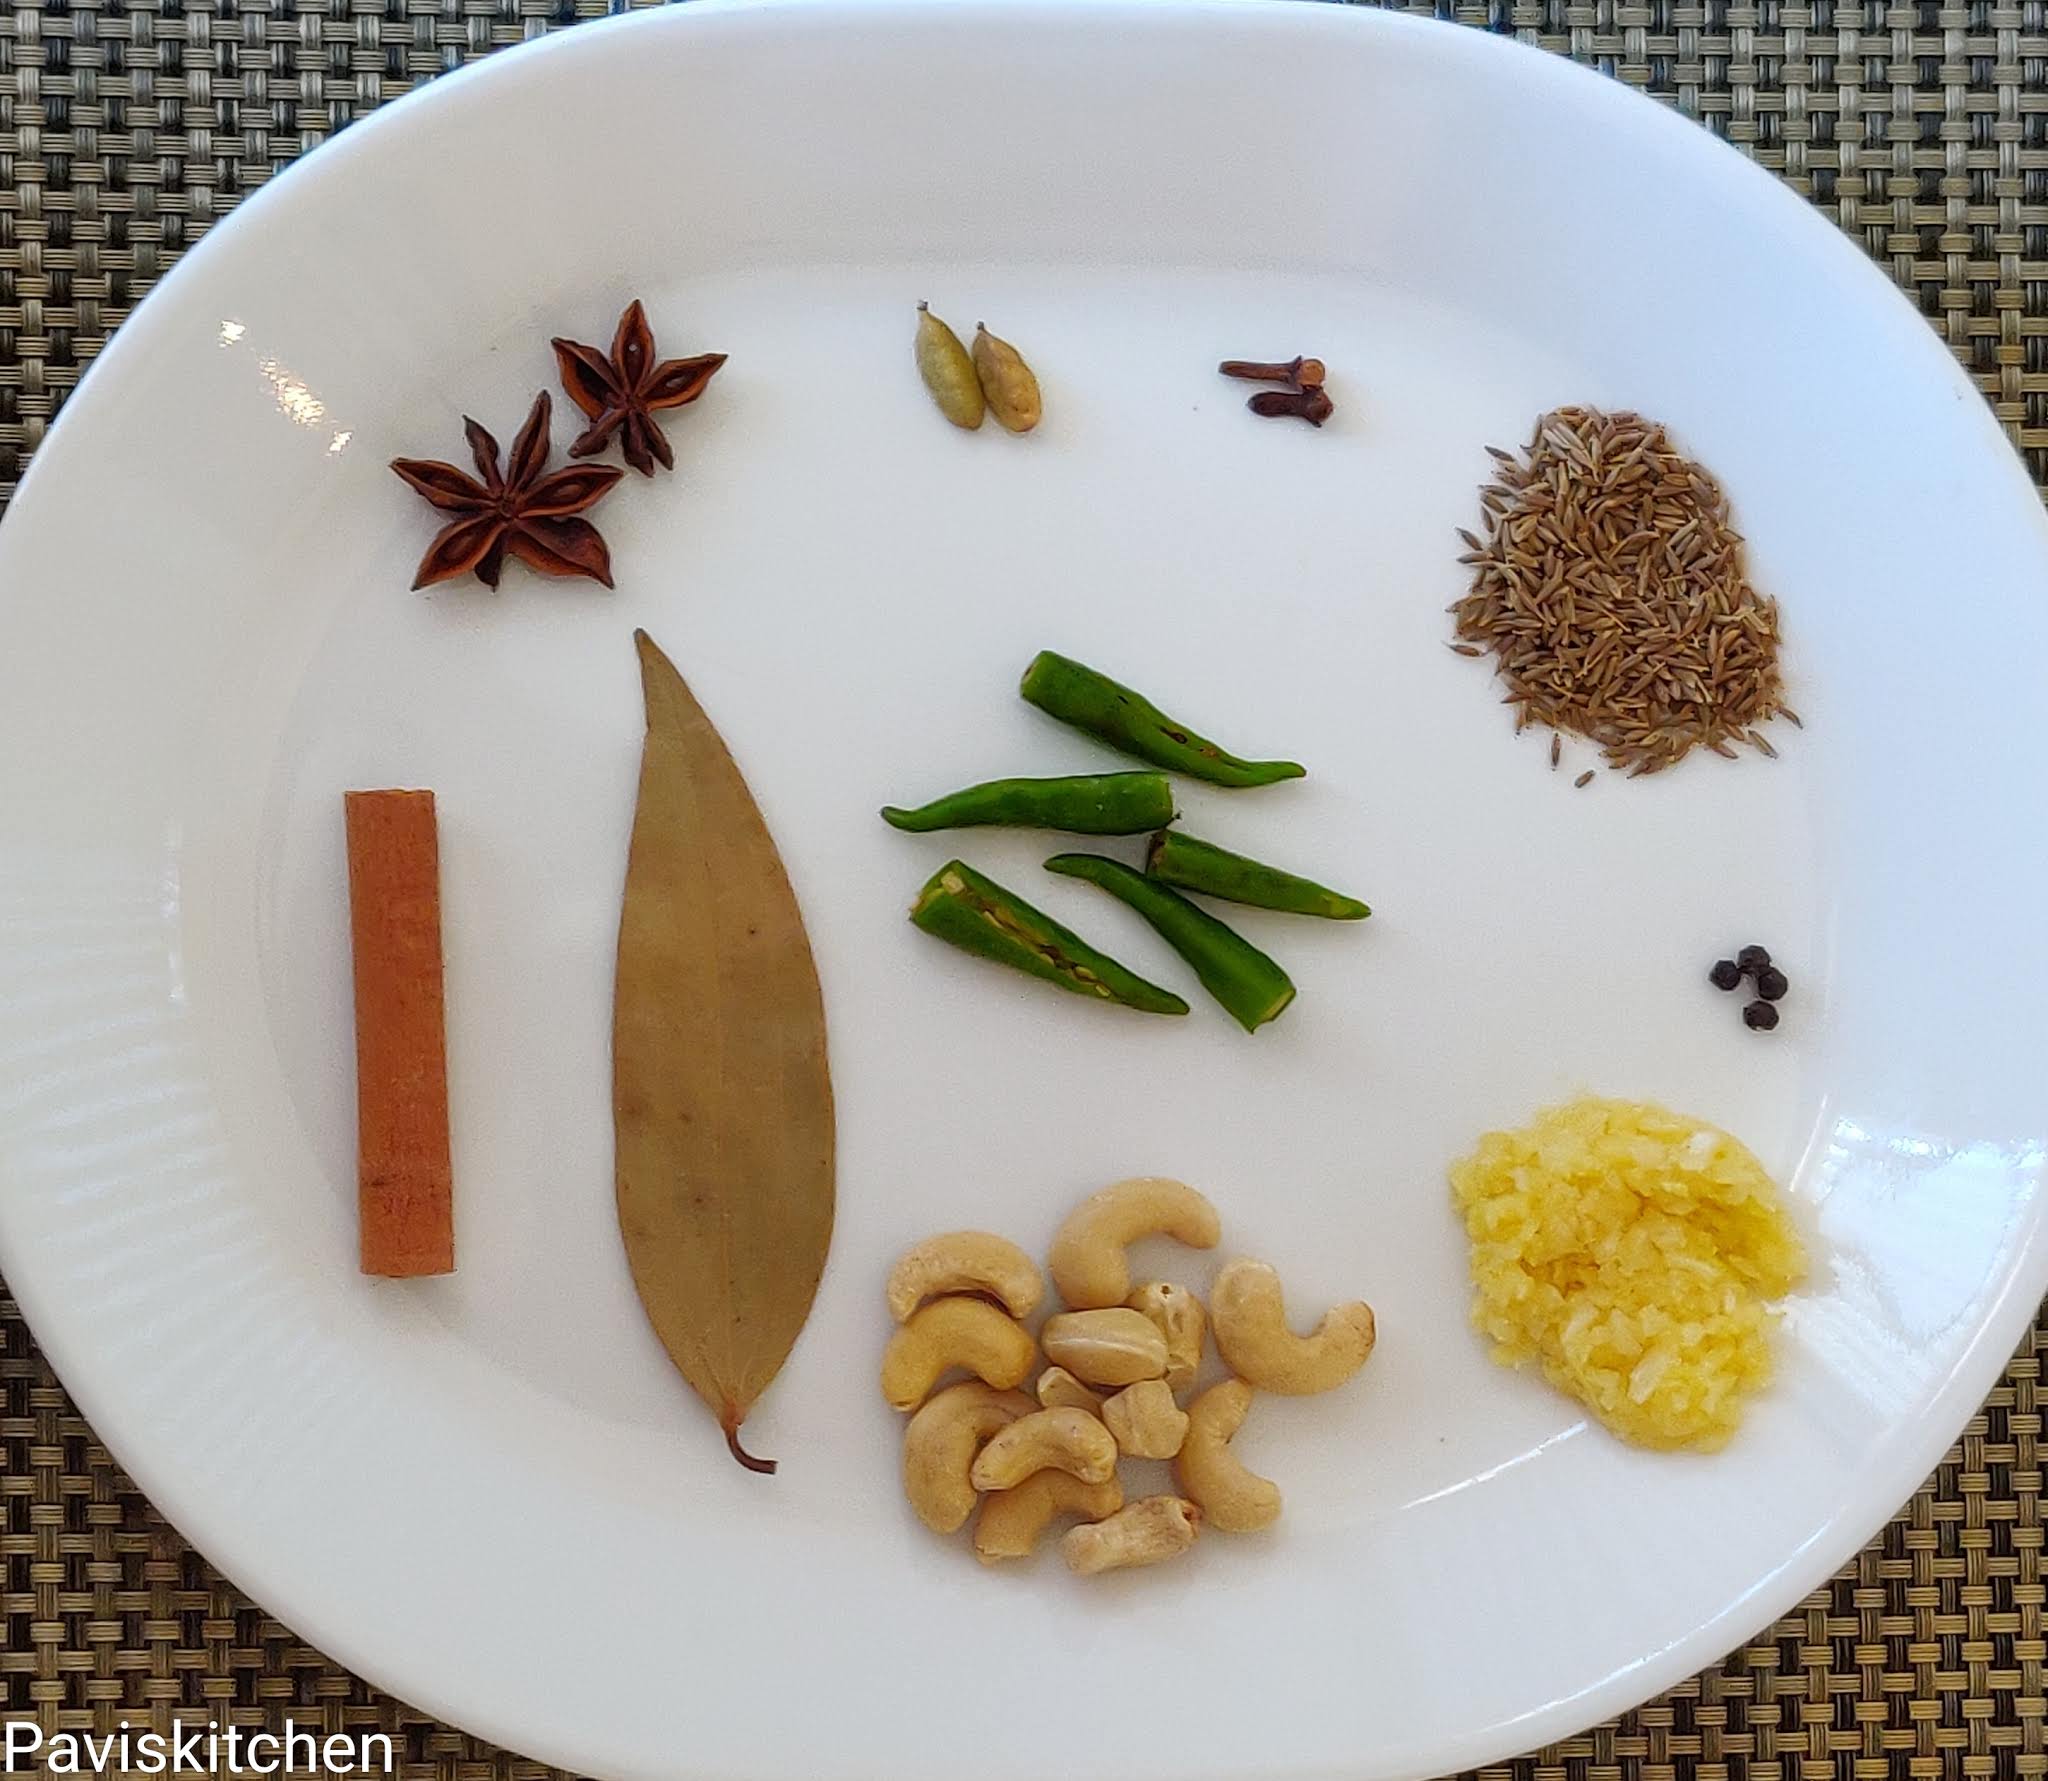
Spices and Nuts:
1. Cumin seeds - 1 tsp
2. Bay leaf - 1
3. Cardamom - 2
4. Star anise - 2
5. Peppercorns - 5
6. Cinnamon - 2 inch
7. Clove - 2
8. Cashew nuts - 10
9. Green Chilies - 5 small
10. Ginger Garlic Paste - 1 tbsp
2. Bay leaf - 1
3. Cardamom - 2
4. Star anise - 2
5. Peppercorns - 5
6. Cinnamon - 2 inch
7. Clove - 2
8. Cashew nuts - 10
9. Green Chilies - 5 small
10. Ginger Garlic Paste - 1 tbsp
How to make veg pulao:
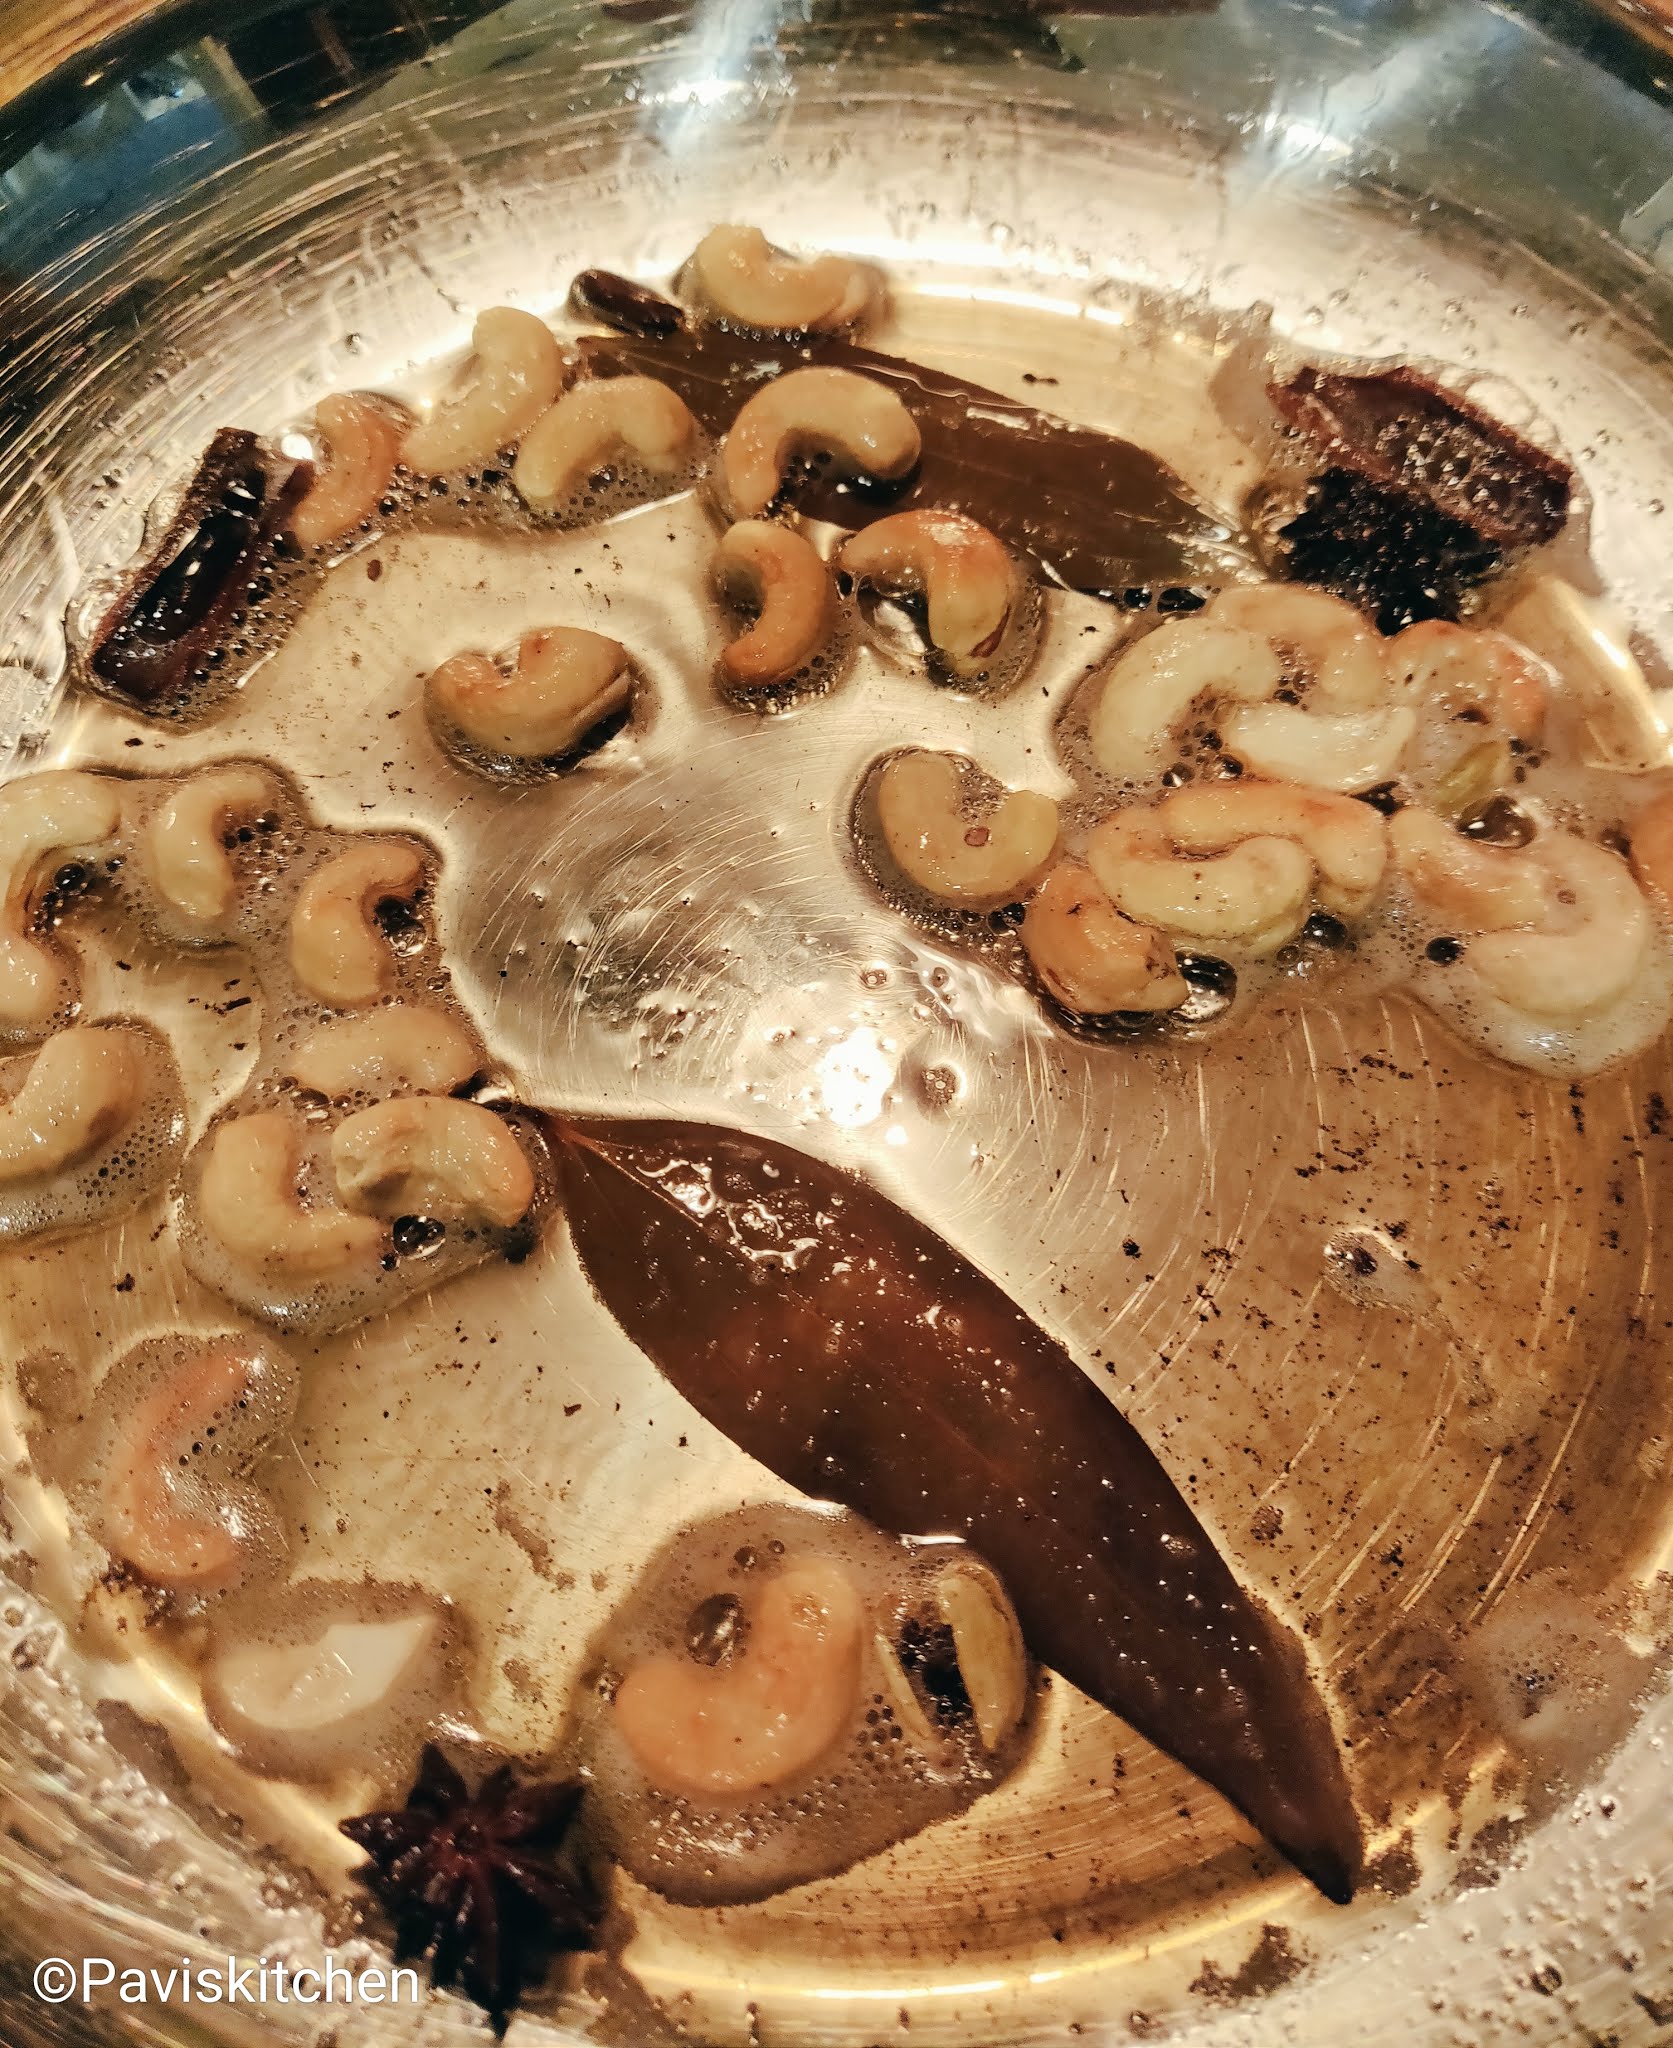
1. Take a wide thick bottomed pan. Keep it on a medium flame. Pour some ghee. Once it is hot, add cumin seeds. When it's slightly roasted, start adding all the spices one by one. Fry for a minute.
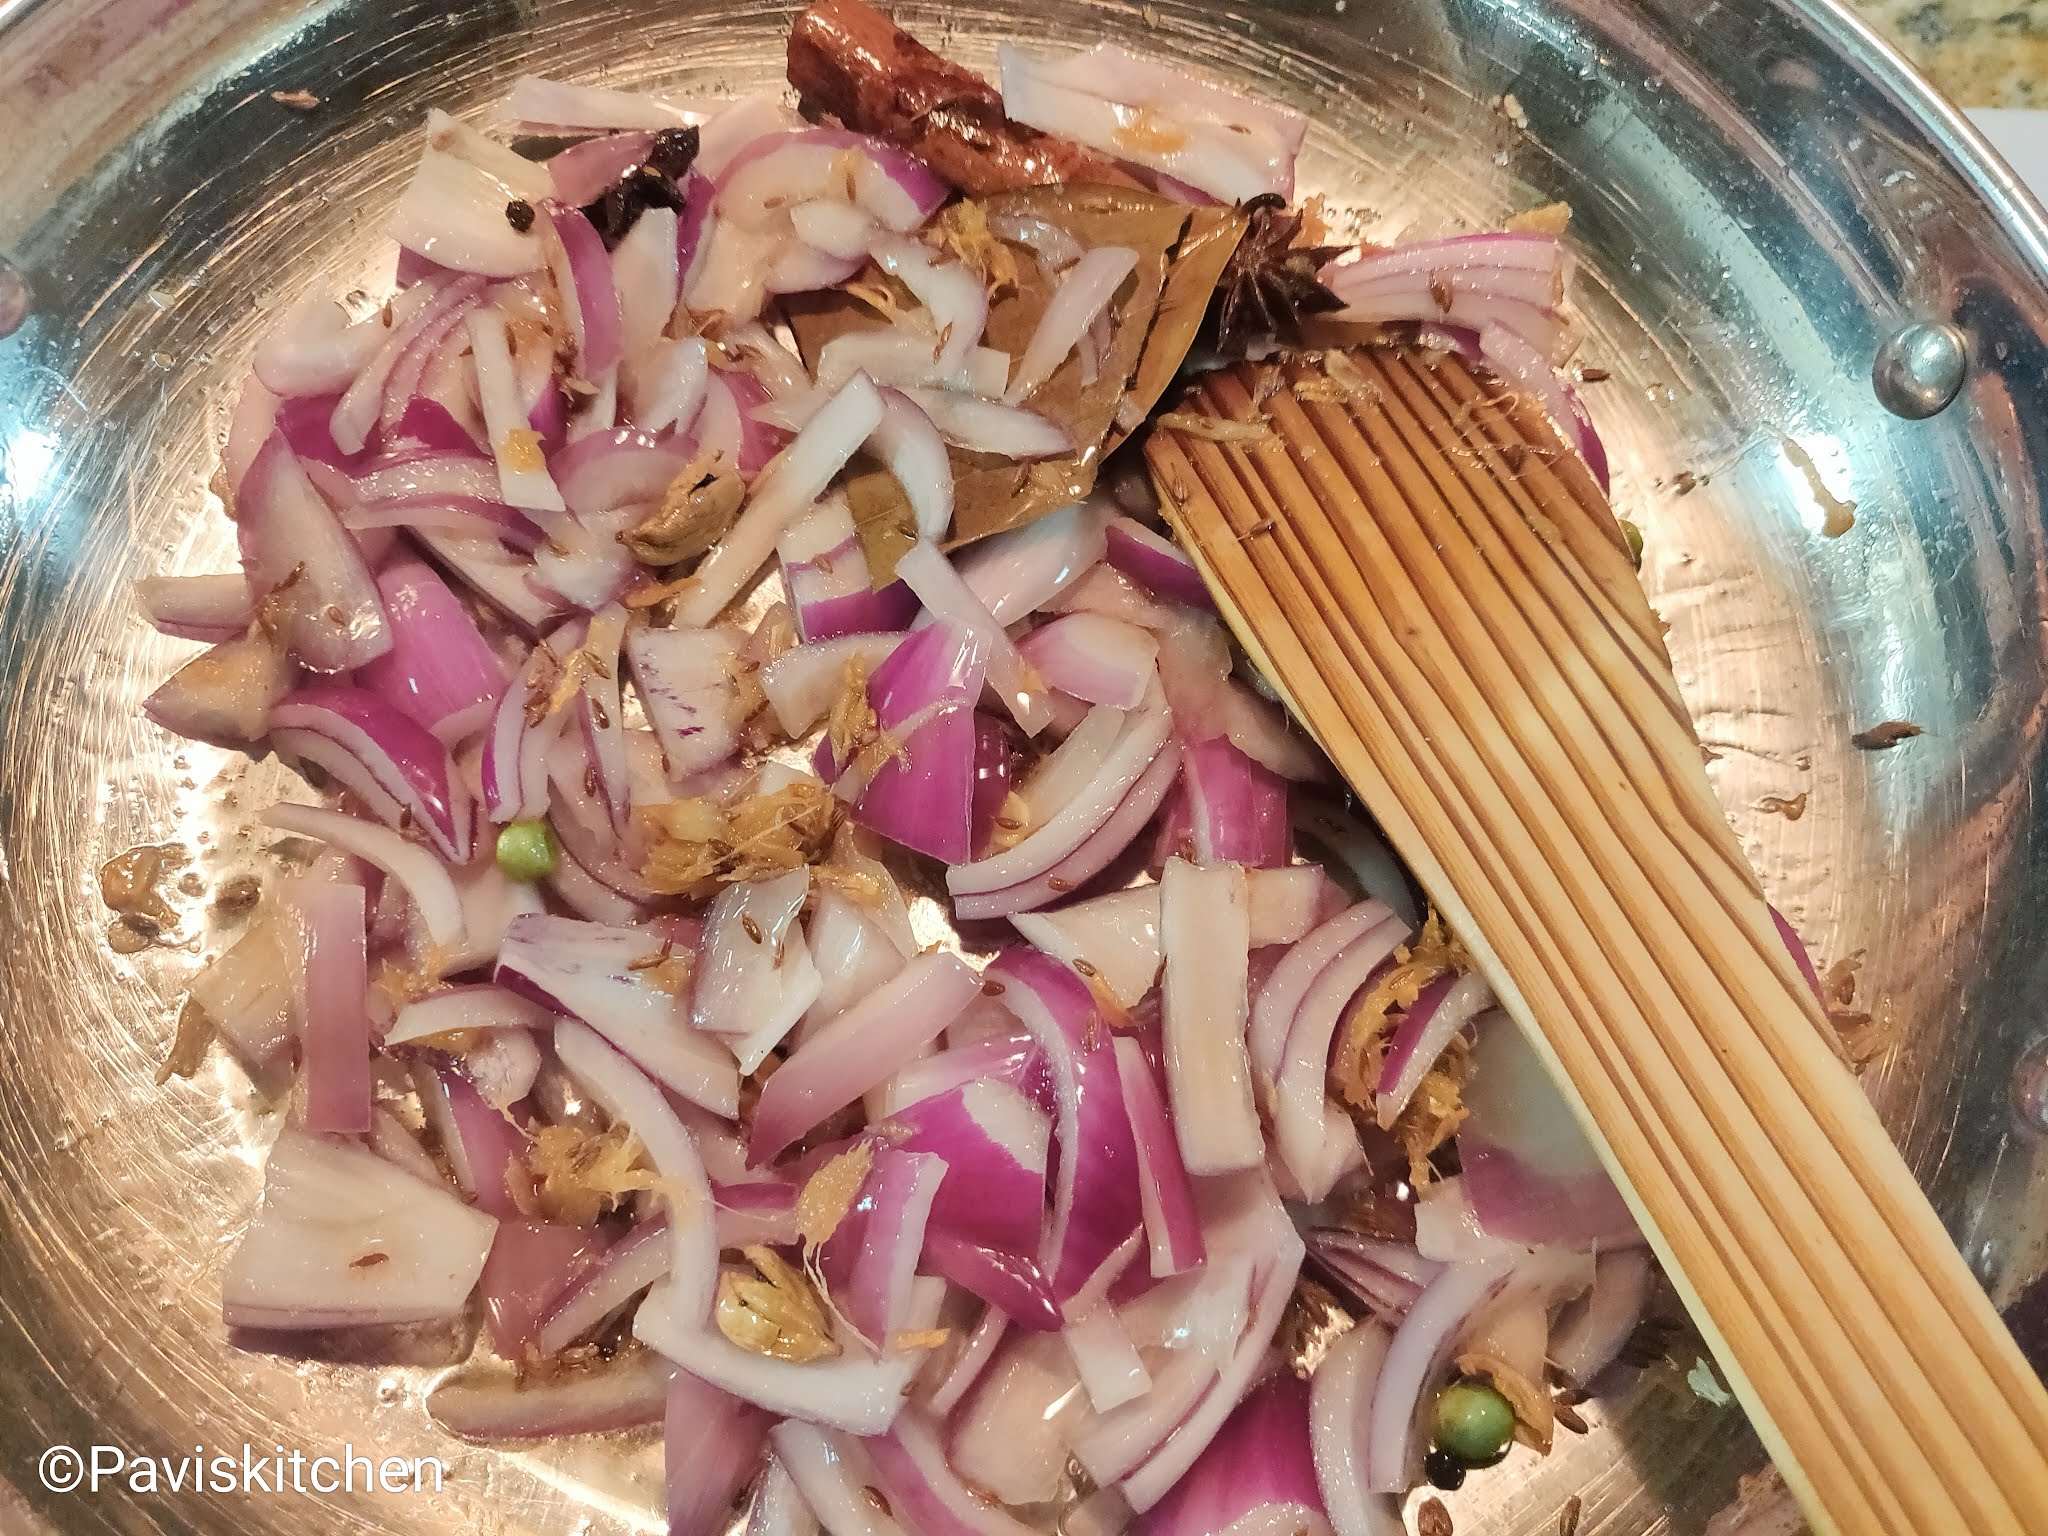
2. Crush the ginger and garlic using the pestle and mortar and add it to the ghee. Then add the green chilies and fry for a minute. (Note - I didn't have chili in hand, so I didn't add in this step).
3. Now, its time to add the sliced onion and saute until it turns translucent. (Note: Sprinkle some salt to speed up the process).
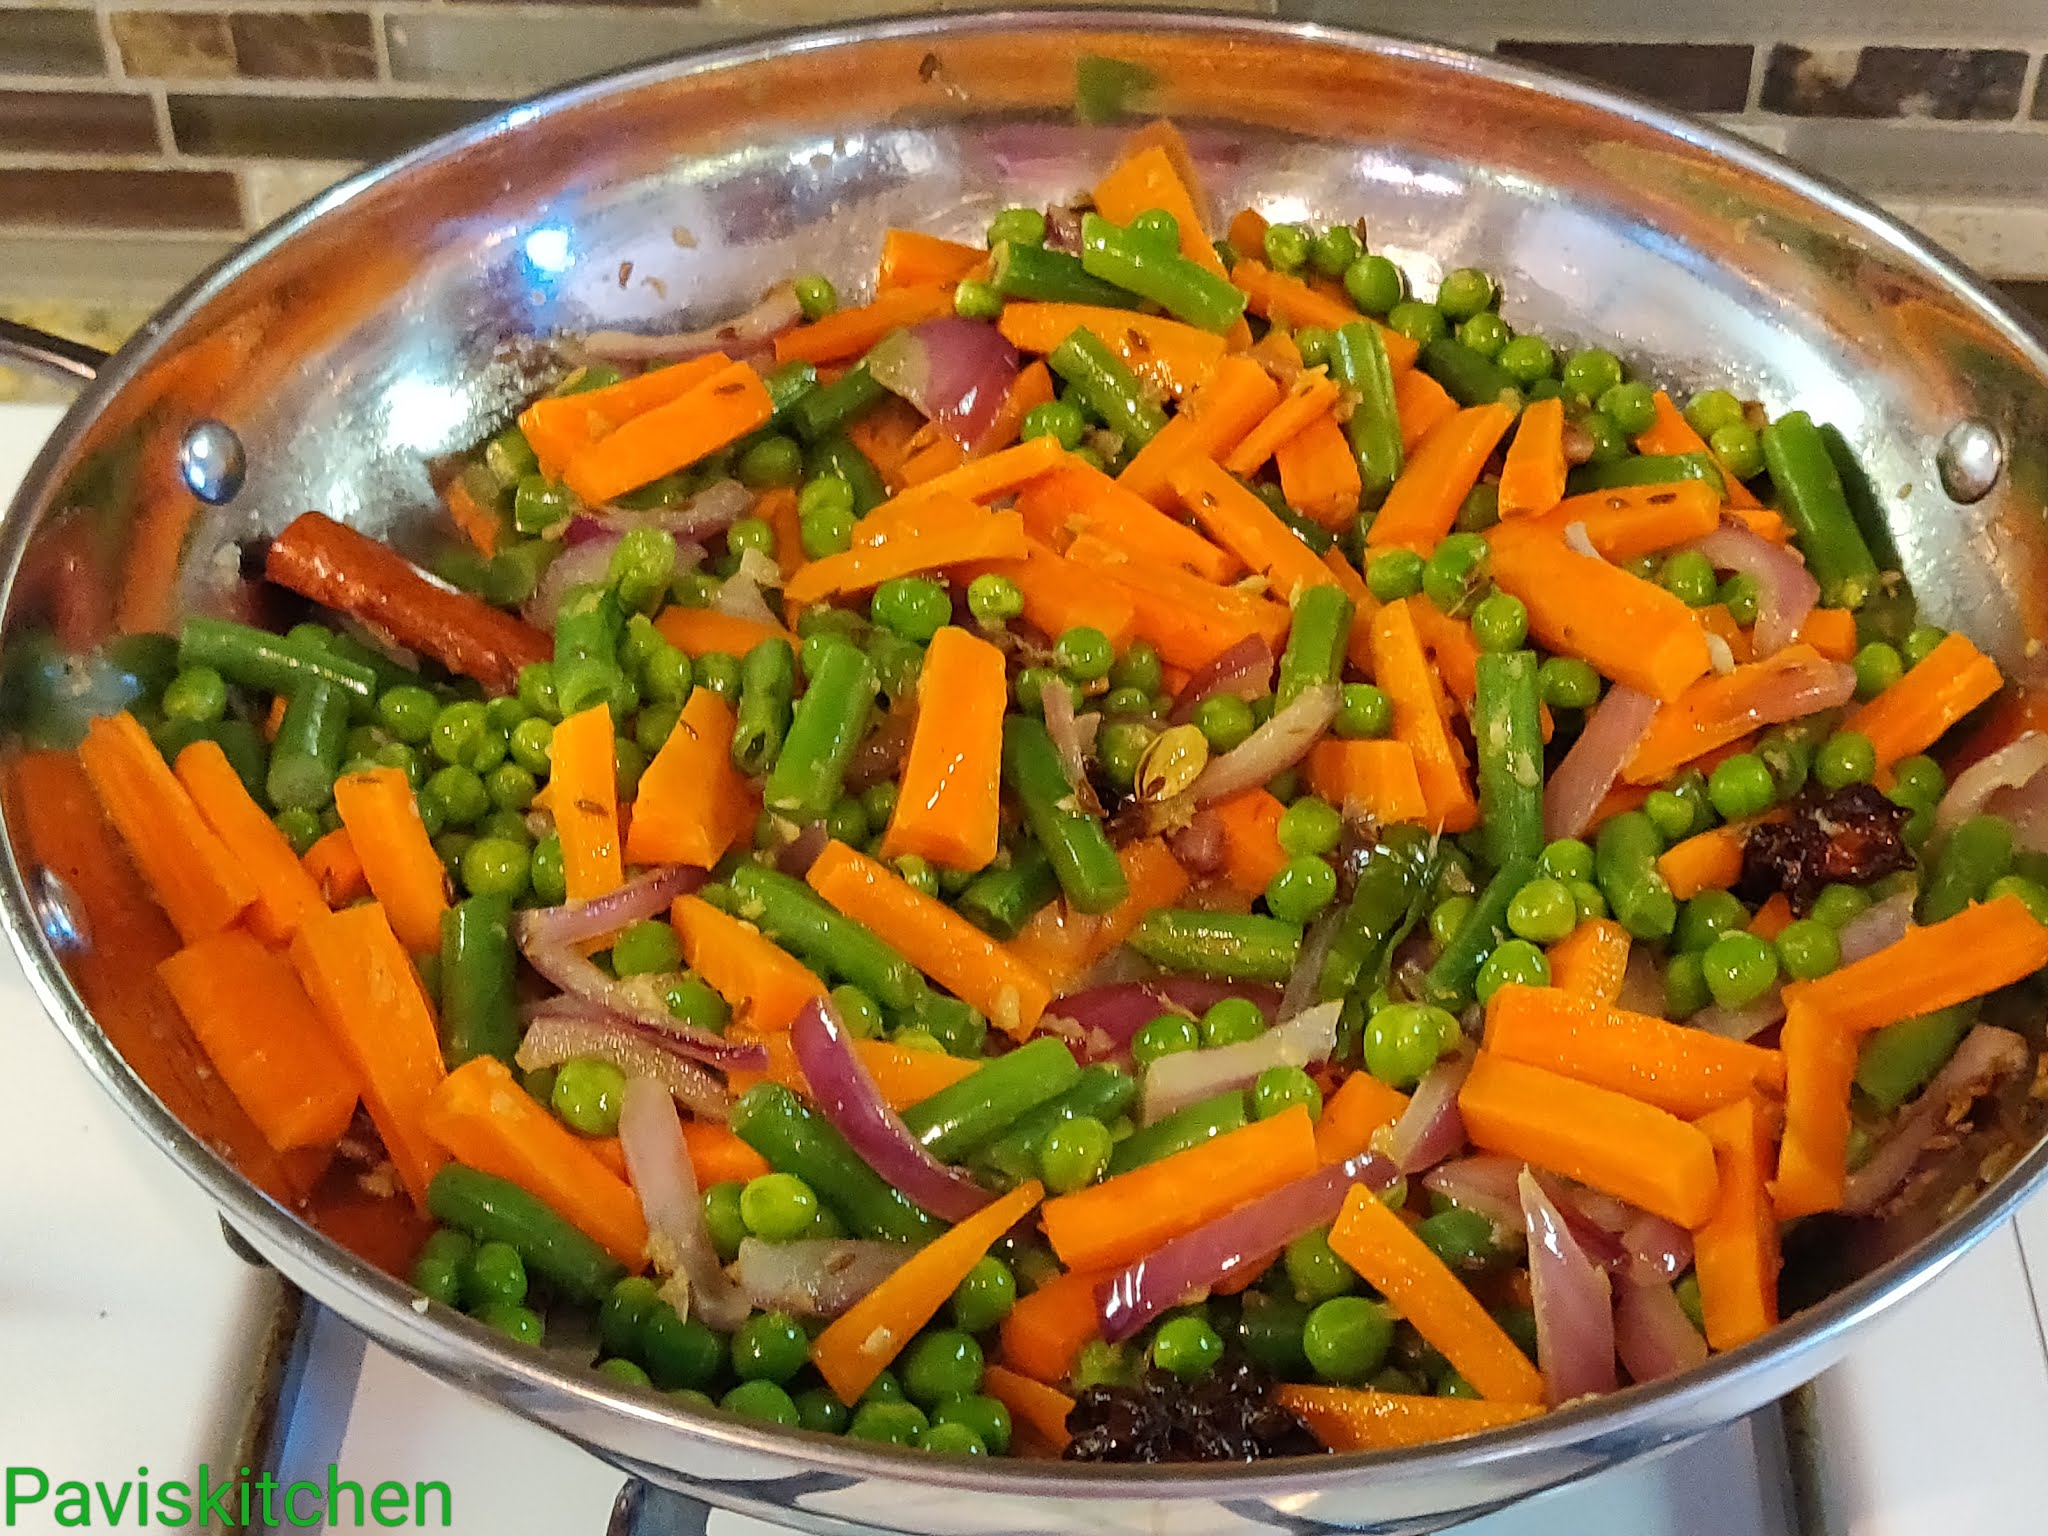
4. Start adding beans, carrots, peas, and mix it well. Fry them until the raw smell of veggies goes. This takes about 3 to 5 mins.
5. Now, its time to add soaked basmati rice and combine everything.
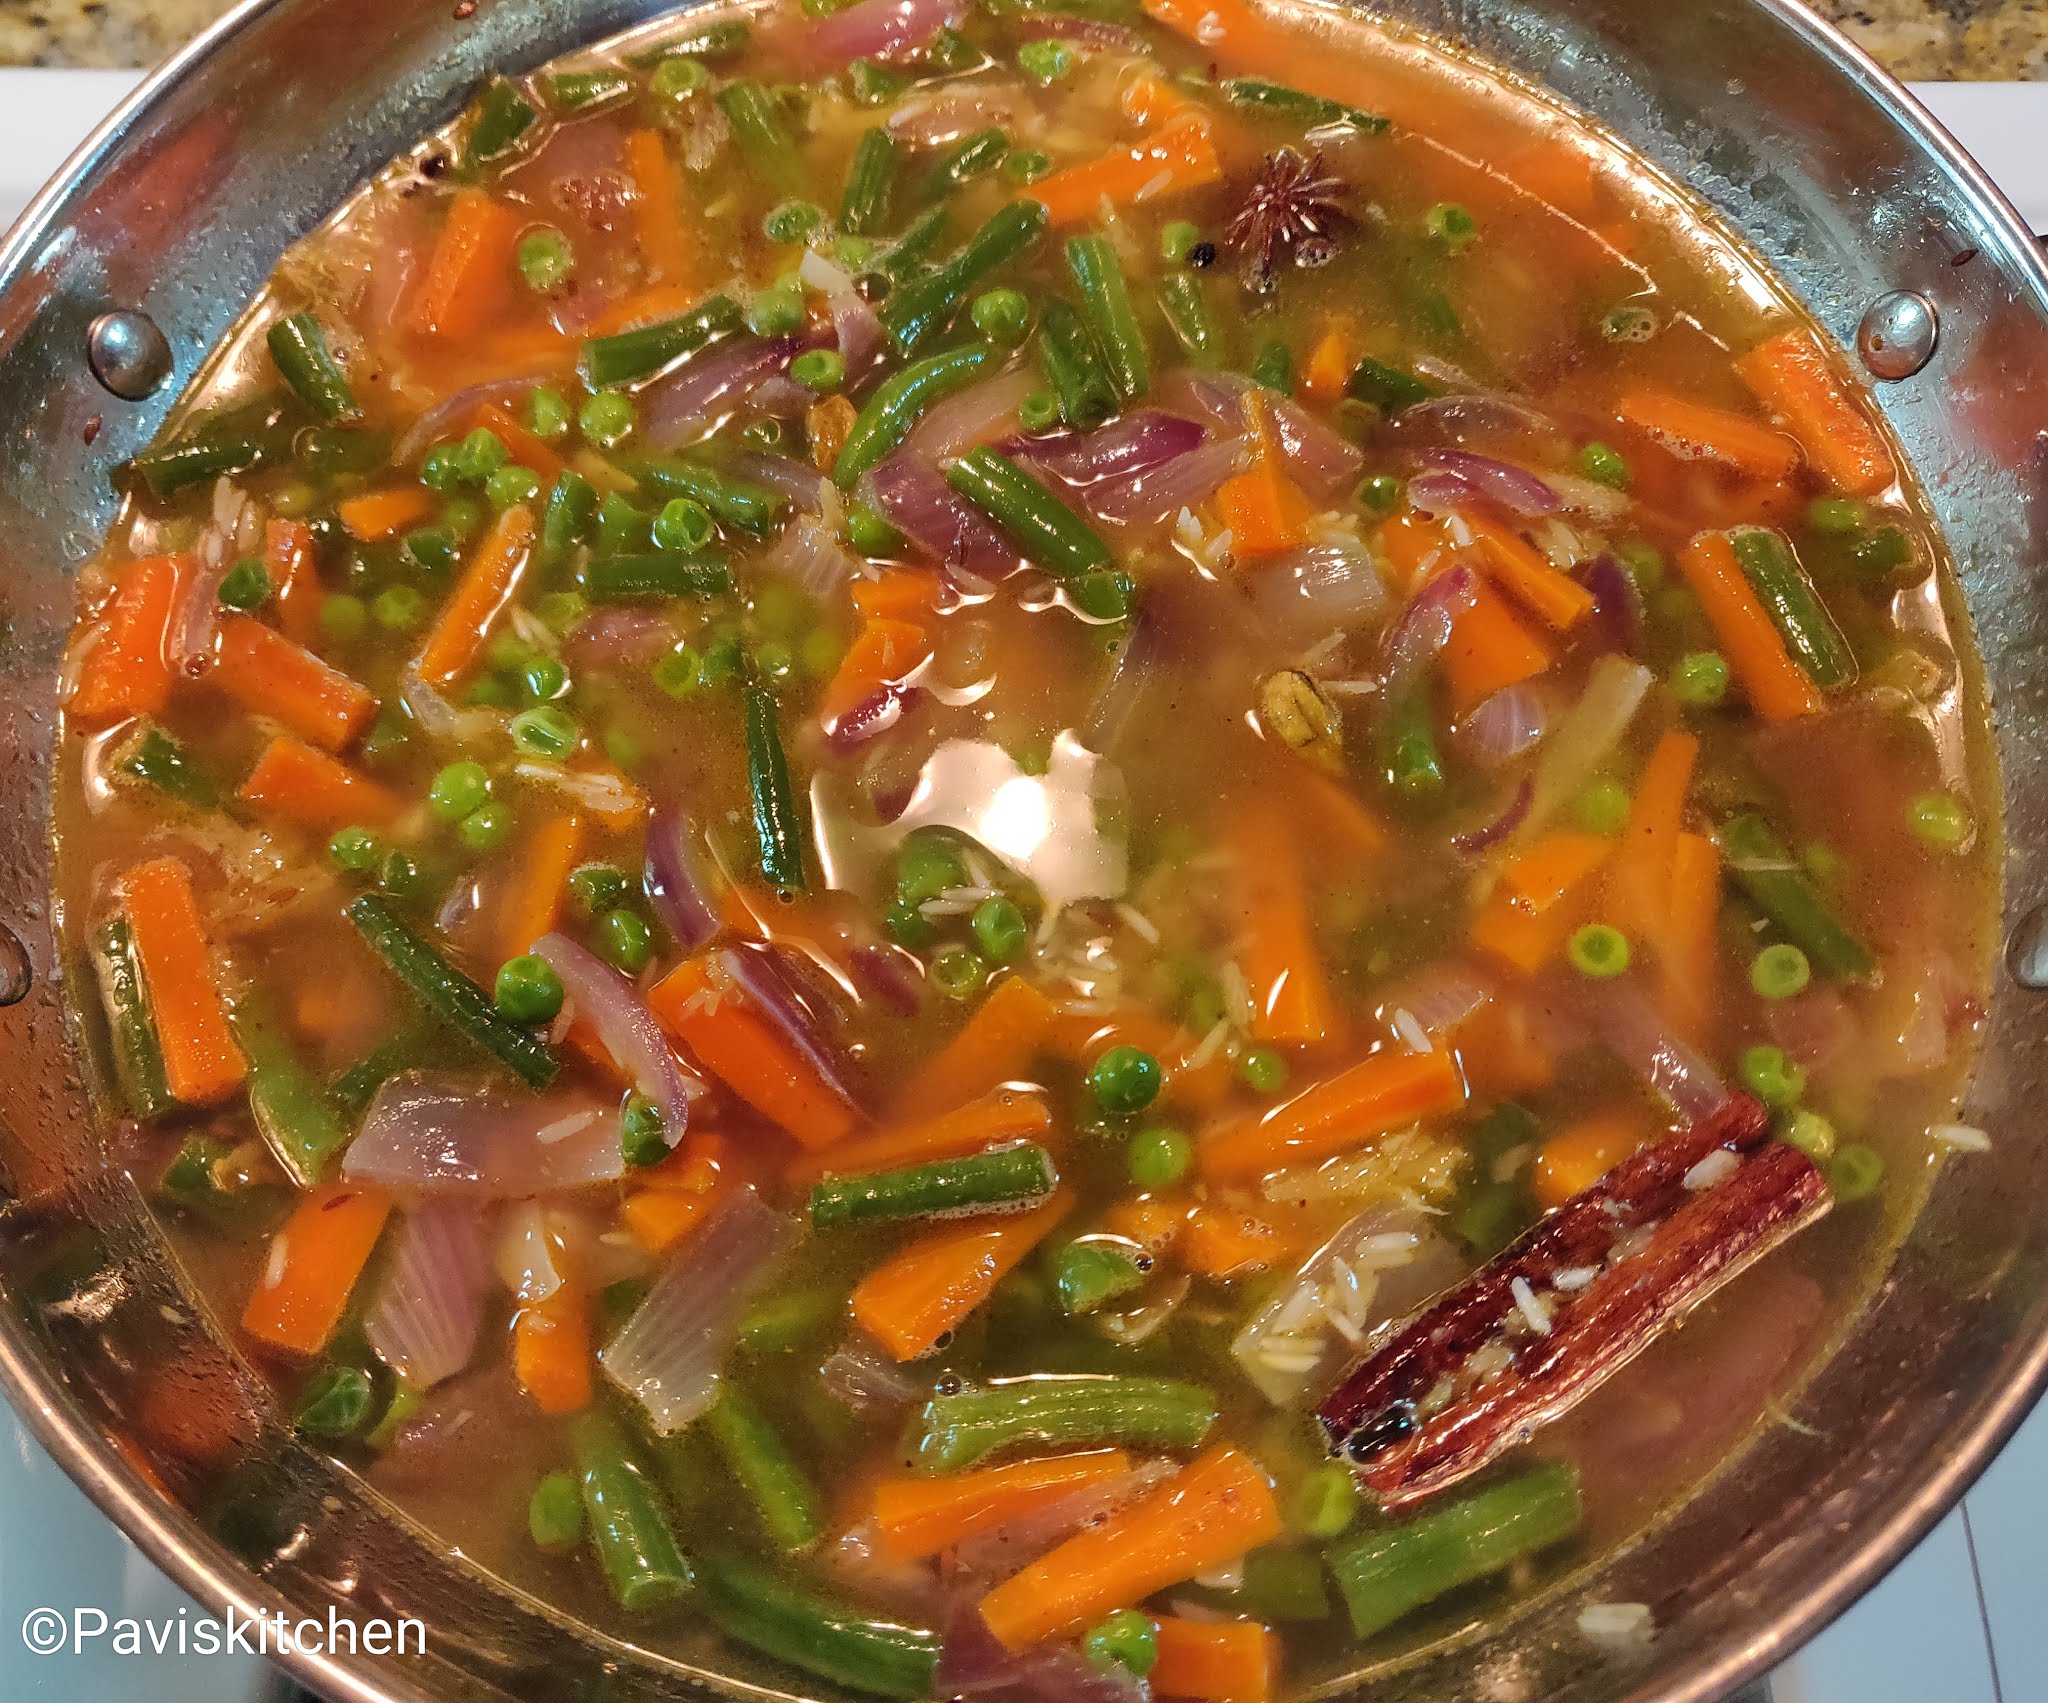
6. Add 2 cups of water. (Note: The measurement ratio is 1:2 which means for 1 cup of rice, add 2 cups of water).
7. Add enough salt and cover it with a lid. keep the flame in medium and let it cook for 15 mins.
8. After 15 mins, open the lid and check the pulao by inserting a fork or toothpick. If the fork comes out clean, then the pulao has cooked well. If not, cover it with a lid for another 3 to 5 mins. Add some fresh cilantro or coriander leaves on top and serve it with raita or any sabzi of your choice.
Spicy ghee flavored vegetable pulao is ready to be served.
How to make vegetable pulao/pulav with step by step pictures:






30 Comments
Neat display of chopped vegetables....
ReplyDeleteStep by step the procedure has been well explained with captivating pics.
Best wishes.
Thank you for your lovely comment :)
DeleteHi, I'm Jayashree Arun's cousin from Trivandrum.Well explained with simple steps. Good pics also. Why don't you start a YouTube channel?
ReplyDeleteHi Jayashree Aunty, Thank you for visiting my blog. Yes, I have a plan to start YouTube channel for cooking videos. I will send you the link asap:)
DeleteBest wishes for your YouTube channel
DeleteI am Vidya , Revathi's Cousin. I have gone through the recipe. It is very well explained with nice illustrations. Keep posting.
ReplyDeleteHi Vidya Aunty, Thank you for taking time to leave a comment:)
DeleteSimple recipe being explained so clearly with wonderful pics..looks so yummy...
ReplyDeleteThank you for your comment:)
DeleteLooks yummy!! Very well explained.... can easily be tried by beginners too.
ReplyDeleteYes, Thank you and Keep visiting Pavis Kitchen:)
DeleteDhoool 🤤
ReplyDeleteHaha..:) Nandri:)
DeleteLooks yummy and delicious. Would love to try this recipe!
ReplyDeleteHi Shailu akka, How are you? Sure, Pls do try and let me know:) Thank you for leaving a comment:)
DeleteI am Kishore - Revathis cousin from chennai/ guntur..looks yummy must be tasting that way too I am sure😋👍
ReplyDeleteHi Kishore Uncle:) Yes, it tasted so delish. Thank you:)
DeleteHi,I am Anu manni of Ramesh,
ReplyDeleteI have gone through the recipe.,
Well explained clearly with pictures.
Hi Anu Aunty, Thank you for stopping by:)
DeleteHi, I am Subha Arun's cousin. Well explained with pics. Looking forward to more recipe from you. Waiting for your you tube channel. Good luck
ReplyDeleteHi Subha akka, Thank you for visiting my blog. Yes, I have a plan to start YouTube channel for cooking videos. I will send you the link asap:)
DeleteHi Pavithra, I am Rema, Arun's cousin. Very well explained. Simple steps. Tempting pictures. All the best.
ReplyDeleteHi Rema akka, Thank you for your lovely comments.
DeleteHi Pavithra, I am Bhavani Anantharaman. Revathy s friend. I am going to suggest Pavis kitchen to my daughter and her friends who are beginners in cooking. Step by step instructions are so clear and easy to follow. Thank you dear.
ReplyDeleteHi Bhavani Aunty, Thank you so much for stopping by and referring pavis kitchen to your friends. keep visiting:)
DeleteNice presentation of food as well as ingredients. The precision of explaining even the smallest steps is highly commendable. Hats off
ReplyDeleteThank you for your lovely comment:) Keep visiting Pavis Kitchen.
DeleteHai Pavi, I tried this recipe. It was so easy and tasty. Well explained with simple steps. All the best.
ReplyDeleteThank you so much for your feedback:)
Deleteबहुत अच्छी विधि बनाने की धन्यवाद
ReplyDelete